API OAuth Client
If you are building an app that interacts with the Kanka API for many users, it is simpler to generate an OAuth client within Kanka.
Warning
Kanka’s OAuth Clients are built with the Laravel Passport plugin. A lot more information and details can be gathered from the plugin’s docs.
Generating an OAuth Client
To generate an OAuth client, visit your API settings. This allows you to create a new client with a name and a callback URL.
Name: The name of your application. Users will be shown this application name in the permission grant screen.
Callback URL: This is the URL that users will be redirected to when approving or cancelling your app’s access to their account.
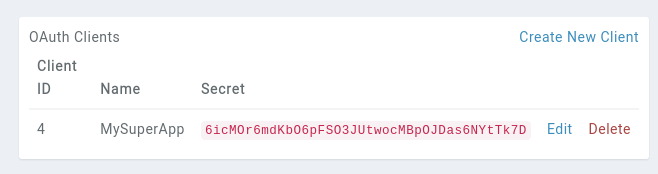
Once a client is created, it will show up in the list with a Client ID and Secret. This will be important later.
Requesting access
To request access from a user, the user needs to call the oauth/authorize page. An example request looks like this.
    $query = http_build_query([
        'client_id' => 'client-id',
        'redirect_uri' => 'http://my-super-app.com/callback',
        'response_type' => 'code',
    ]);

    return redirect('https://app.kanka.io/oauth/authorize?'.$query);
If the request is properly formated, the user should be greeted by a page asking them to authorize or deny your app’s access to their account.
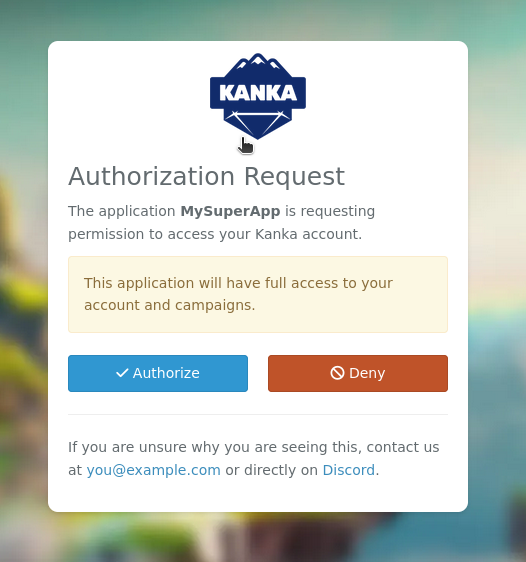
When the user clicks on Authorize, they will be redirected to your app’s URL with a code parameter in the URL.
Refreshing a token
By default, tokens are valid for 1 year. These can be renewed by making a POST request to the oauth/token endpoint.
use Illuminate\Support\Facades\Http;

$response = Http::asForm()->post('https://app.kanka.io/oauth/token', [
    'grant_type' => 'refresh_token',
    'refresh_token' => 'the-refresh-token',
    'client_id' => 'client-id',
    'client_secret' => 'client-secret',
    'scope' => '',
]);

return $response->json();